Part 3 - Setting up Wireguard on OPNsense
Rebuilding my network - Part 3: Settings up Wiregoard on OPNsense
Parts:
- Part 0, the intro: Part 0 - Uh oh. Spagettio
- Part 1, the planning: Part 1 - Planning out my new network
- Part 2, Dynamic DNS: Part 2 - Informing Namecheap about OPNsens IP
- Part 3, WireGuard VPN Part 3 - Setting up Wireguard on OPNsense
The pieces are starting to fall in place, but there are still some things that are missing to even get back to where i started to break my network..
Next piece is Wireguard, the new and hip VPN protocol.
Lets install that one too as with most other things.
https://docs.opnsense.org/manual/how-tos/wireguard-client.html
System -> Firmware -> Plugins

And poof, new menu under VPN just showed up!
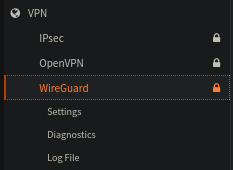
Alrighty, to set up Wireguard there is a couple of steps we need to do!
First thing first is under the Local Tab:
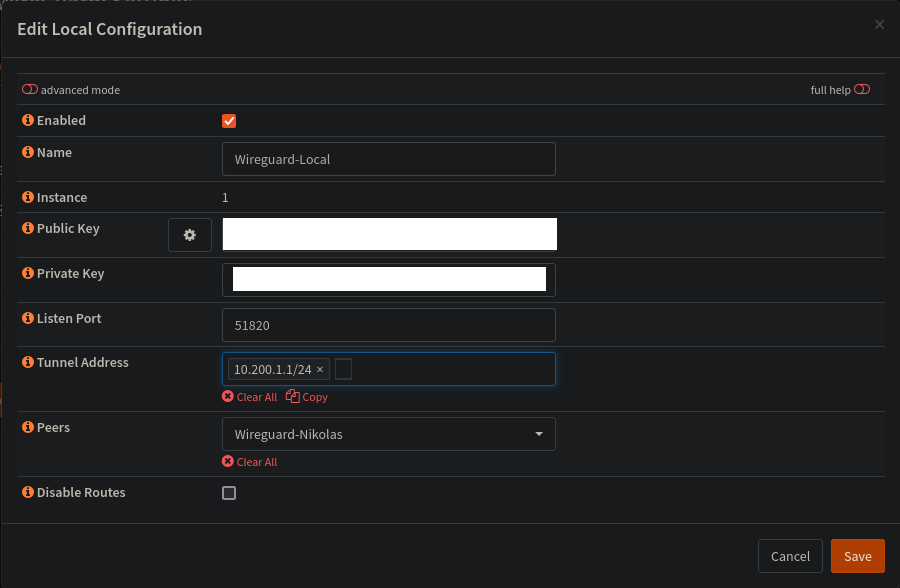
Fill out Name, Listen Port and Tunnel address. The keys populates itsself on save.
Ignore Peers, we will create a peer for that dropdown next!
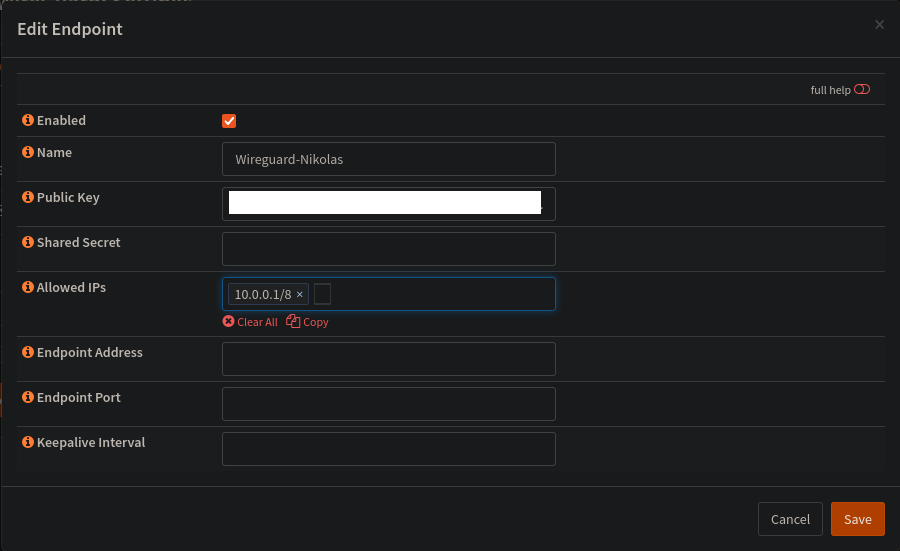
Fill out whatever you want for a name, and which IP's the client should be allowed to talk to. I prefer a setup where i only route 10.0.0.0/8 over the VPN.
I also duplicate a separate profile with 0.0.0.0/0, which is the same as a full tunnel.
There is one field here which needs some love, and that is the Public Key field. This is separate from the Private/Public keypair set in "Local".
We could generate both via that dialog, but we can use this as an oppertunity to get aquainted with the wireguard tooling for Linux
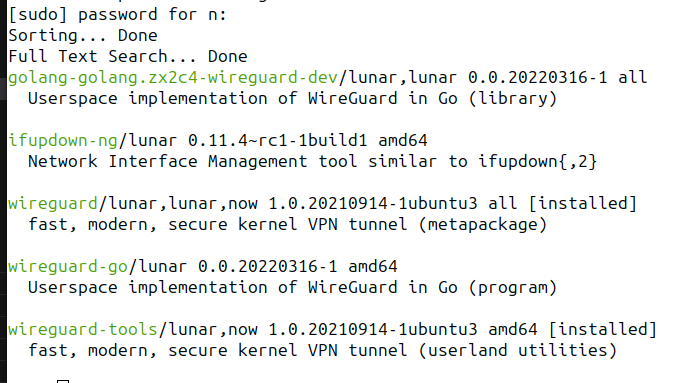
sudo apt install wireguard wireguard-tools
When that is done we can create the keys we need!
https://www.wireguard.com/quickstart/#key-generation
wg genkey | tee privatekey | wg pubkey > publickey
This will give us the two files privatekey and publickey
Take the public key and supply it to the Endpoint configuration in OPNsense!
After you saved, go back into the Endpoint config and add your new peer to the dropdown list.
Alrighty, you are now ready to press Enable in the General tab :)
Still some more things to fix tough, lets to the Firewall++ first, then create a client cert.
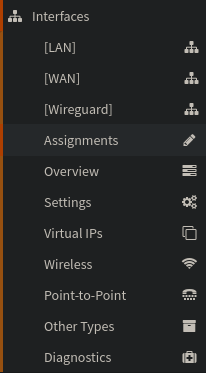
When you check out this menu you will not see the Wireguard interface. Next up is adding it by going into the Assignments menu. In the dropdown select the wg* interface and give it a good name.
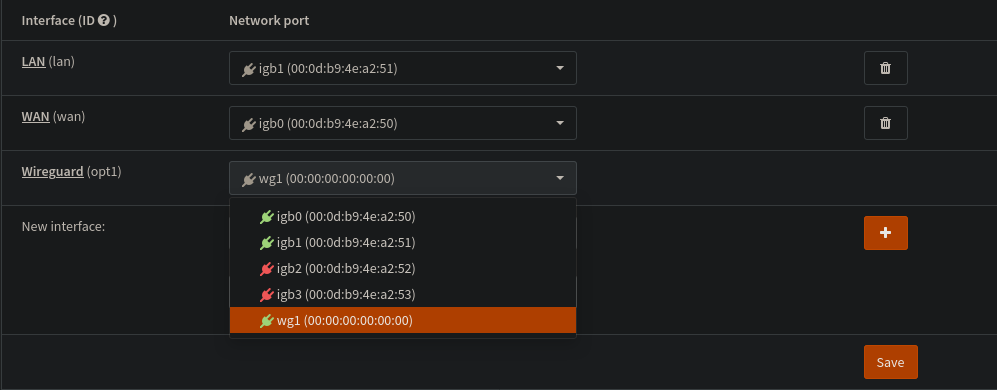
This is so that we can refer to the Wireguard interace in out Firewall config, and get it managed in the outbound NAT automatically.
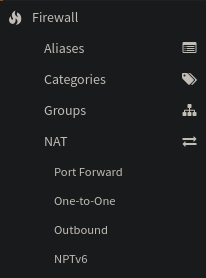
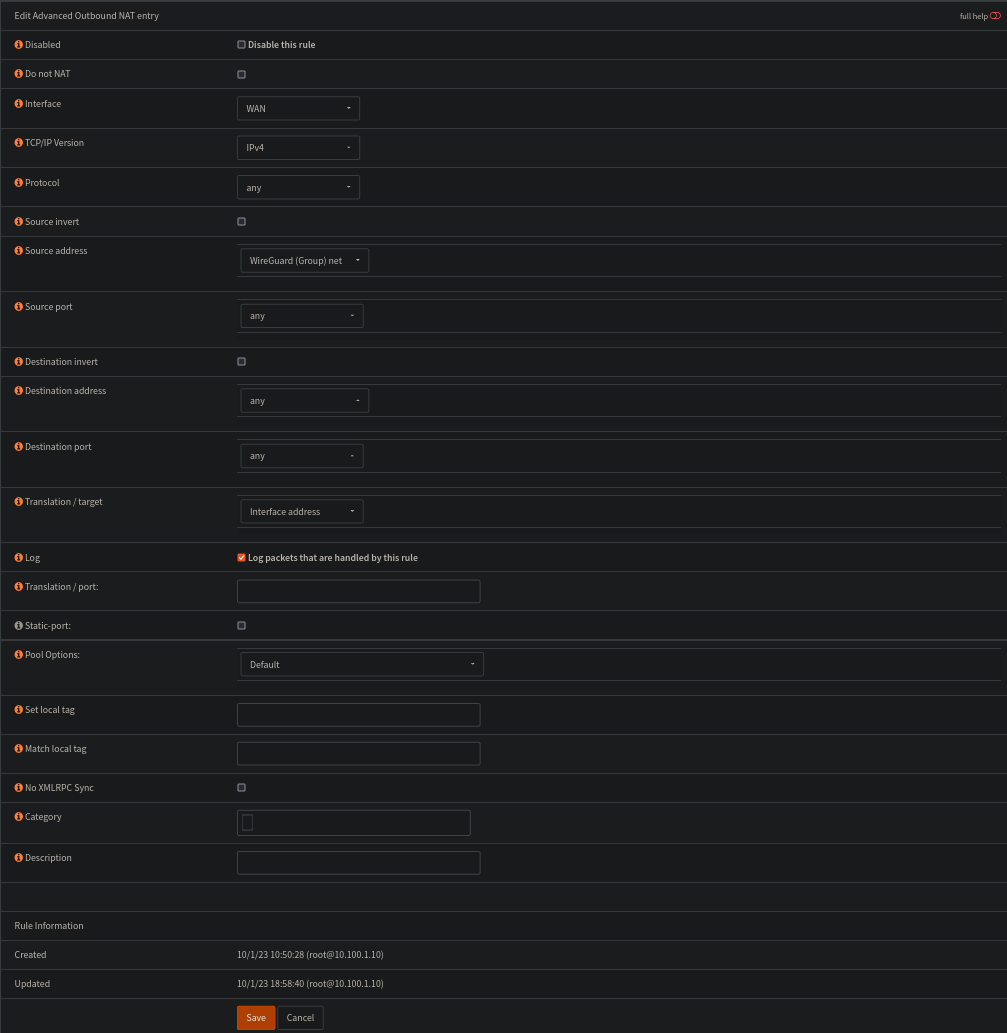
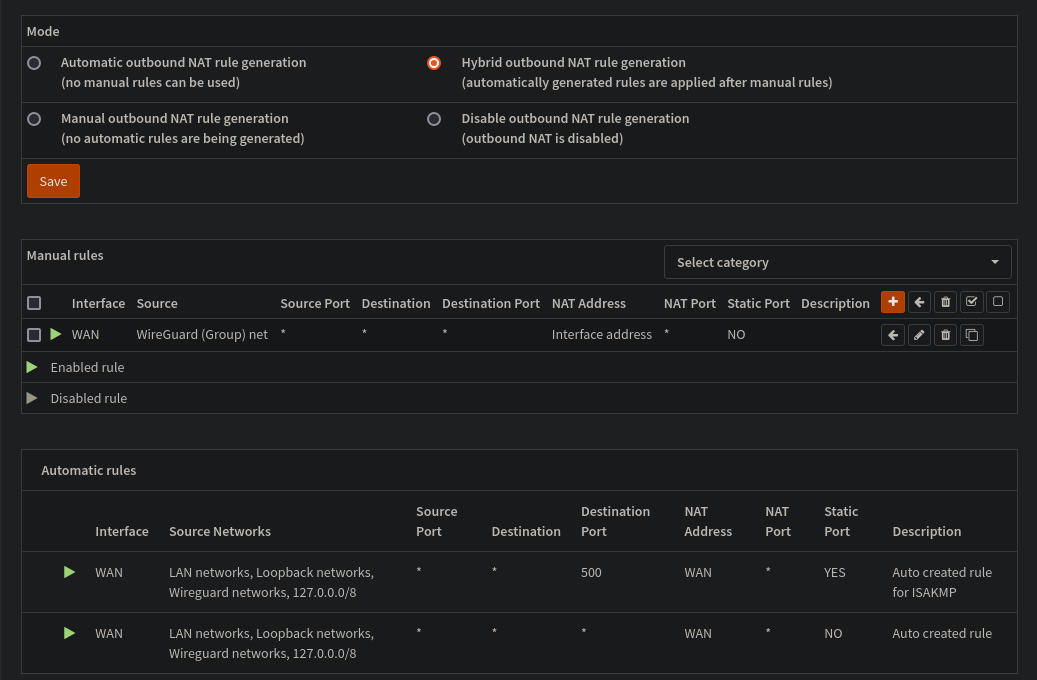
On that note, lets fix the outbound NAT
Set the outbound nat mode to Hybrid.
We also want to create a new nat rule
This is just a super basic setup, NAT is confusing, and this works for me..
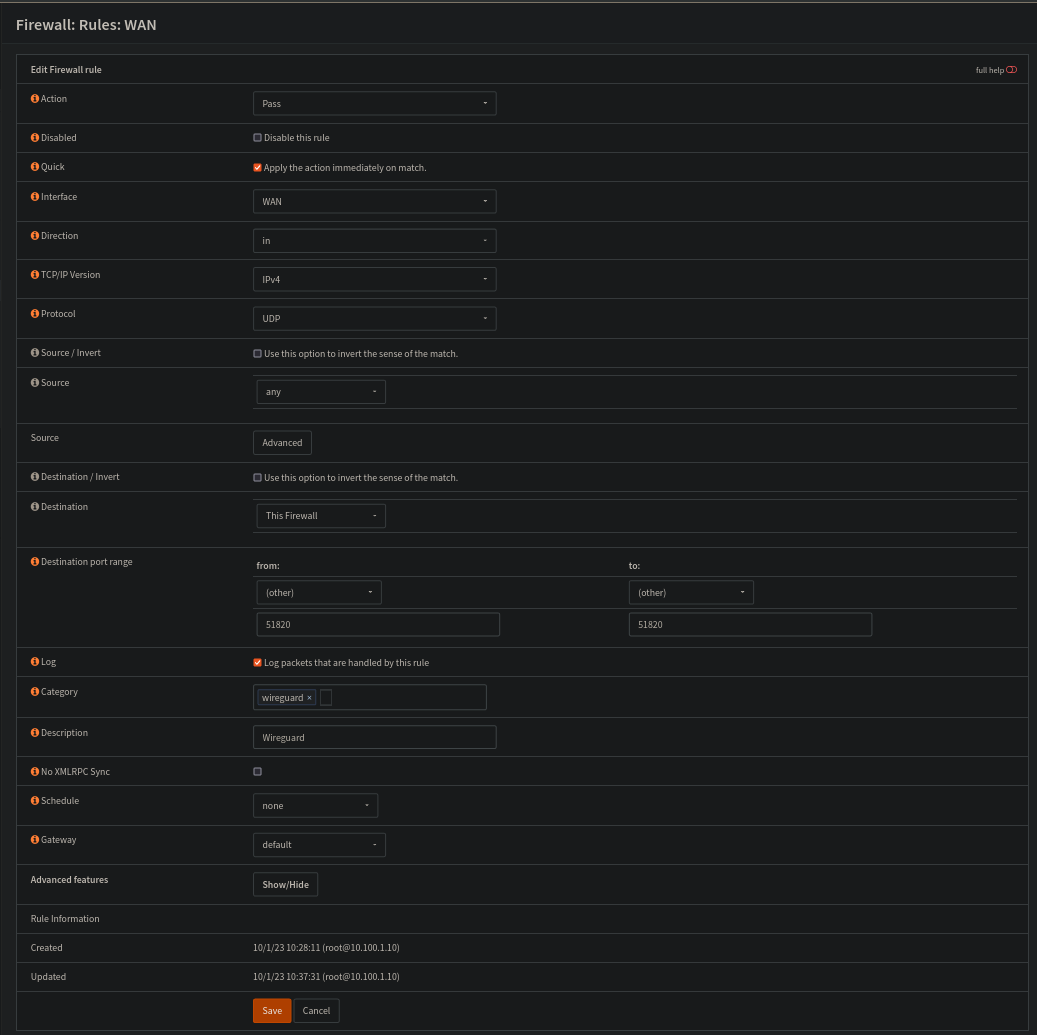
Firewall rules next:
First one on the WAN, so that we can access Wireguard
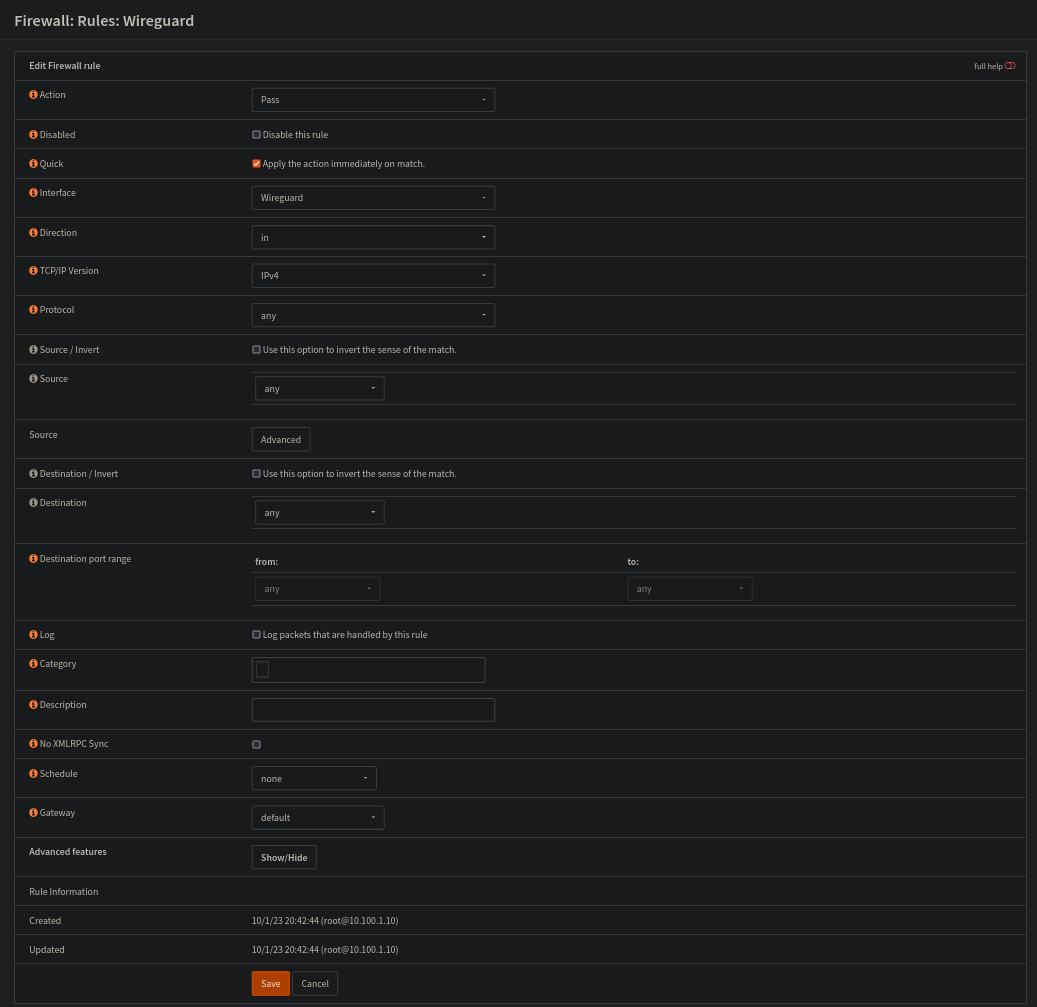
And one in Wireguard interface, which can be used to restrict the access in your network beyond the VPN setup
Alrighty! Now its just one thing left!
Create a client configuration.
On linux you should add this to /etc/wireguard/<name>.conf
Interface.PrivateKey -> This is the private key you created on your machine
Peer.PublicKey -> This the public key from the server
[Interface]
PrivateKey = 8GboYh0YF3q/hJhoPFoL3HM/ObgOuC8YI6UXWsgWL2M=
Address = 10.200.1.2/32
DNS = 10.100.1.1

[Peer]
PublicKey = OwdegSTyhlpw7Dbpg8VSUBKXF9CxoQp2gAOdwgqtPVI=
AllowedIPs = 10.0.0.0/8
Endpoint = wireguard.hacky.software:51820
When this file is added to for example /etc/wireguard/wg.conf.
The reason why you add it here is so that you can use wg-quick
Like so: wg-quick up wg.
This will fix all the configuration you need to get the VPN up and running
Parts:
- Part 0, the intro: Part 0 - Uh oh. Spagettio
- Part 1, the planning: Part 1 - Planning out my new network
- Part 2, Dynamic DNS: Part 2 - Informing Namecheap about OPNsens IP
- Part 3, WireGuard VPN Part 3 - Setting up Wireguard on OPNsense