Part 1 - Planning out my new network
Rebuilding my network - Part 1: Planning out the basics of my network
Date: 2023-09-27
Parts:
- Part 0, the intro: Part 0 - Uh oh. Spagettio
- Part 1, the planning: Part 1 - Planning out my new network
- Part 2, Dynamic DNS: Part 2 - Informing Namecheap about OPNsens IP
- Part 3, WireGuard VPN Part 3 - Setting up Wireguard on OPNsense
Let me just say: I have no formal network training, all i know is from mucking around simple networks. Either at work or at home. Starting early with figuring out how to setup a LAN for gaming with my brothers.
Also, there is no hiding that i already had a network setup, this is me resetting my network after breaking it once before.
So a couple of things i know i need to get up and running again to start with before we start with fun things like for example VLANing all my IoT devices etc etc.
Note: All of this will be documented in the living-ish document ip_allocations. This is the live journaling while i figure out how to do things!
- LAN network range
- DHCP
- Fix Range
- Fix Domain Name
- Fix DNS
- Lock the IP of certain devices
- DNS
- Setup dns overrides for certain domains towards a fqdn
- Setup a wildcard resolver for the sub-subdomain
- NAT
- Setup port portforwaring for a certain service
Setting up the network interface
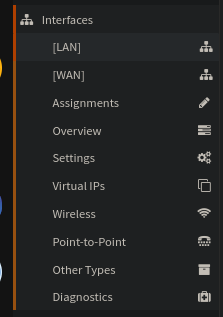
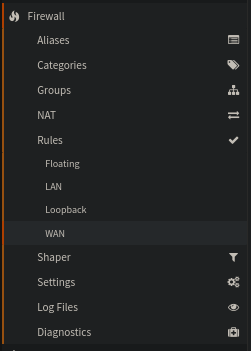
Fixing the IP range is really no issue at all, just go in the sidebar and find LAN
Scroll down to the section with Static IPV4 configuration and set your subnet
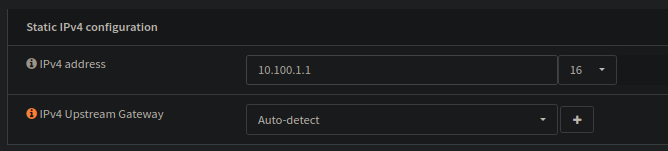
10.100.1.1/16 is really for no good reason at all, its just something i've always used..
10.100.1.1/16 is the same as 10.100.0.0 - 10.100.255.255
So! The Gateway could have been smarter placed, like 10.100.0.1, or 10.10.10.10, but i can't really fight my habits too much :')
PS: as a note, WAN does not need any changes, as i get the via DHCP from my ISP
Setting up DHCP
Next menu!
In OPNSense, the DHCP server is tied per interface (i think), instead of one per device.
Here too, not that complicated changes that are needed.
Image:
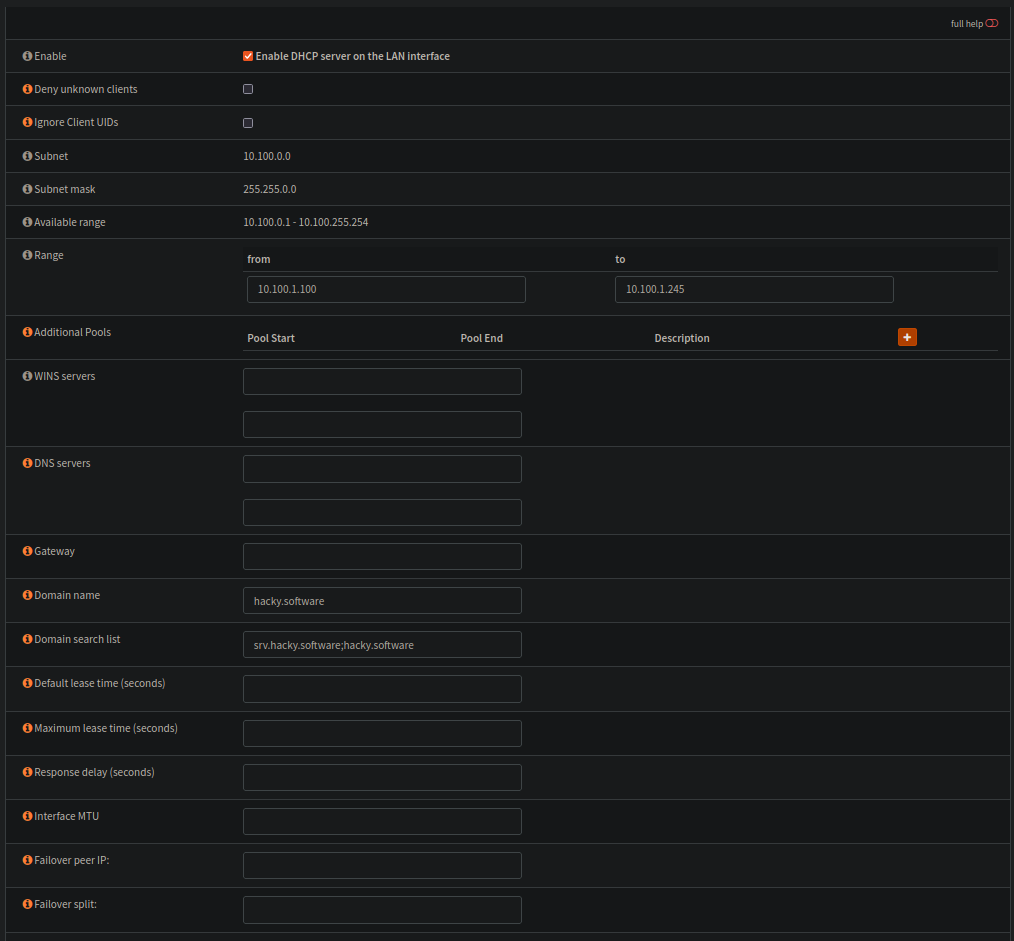
Range set as described. I assume i'm not going to need more than 145 DHCP client IPs for a while at least..
Next over, i set the domain for all dhcp clients to hacky.software, and that all host searches should check srv.hacky.software and hacky.software too.
That means, when i try to find the host desktop, desktop.srv.hacky.software and desktop.hacky.software should also be searched.
Not that the DNS search is correct i also like to statically allocate the IP for certain devices on the network, so that if DNS dies, i still have some idea where in the network they are.
The easiest way to allocate the entries is to go via the DHCP leases list. This list shows all the current IP leases allocated. A lease is simply a mapping from a device MAC address to an IP address. This is not permanent by default, its also the same reason why you might get a new IP from your ISP when you disconnect your router, as they usually have a DHCP lease on you too!
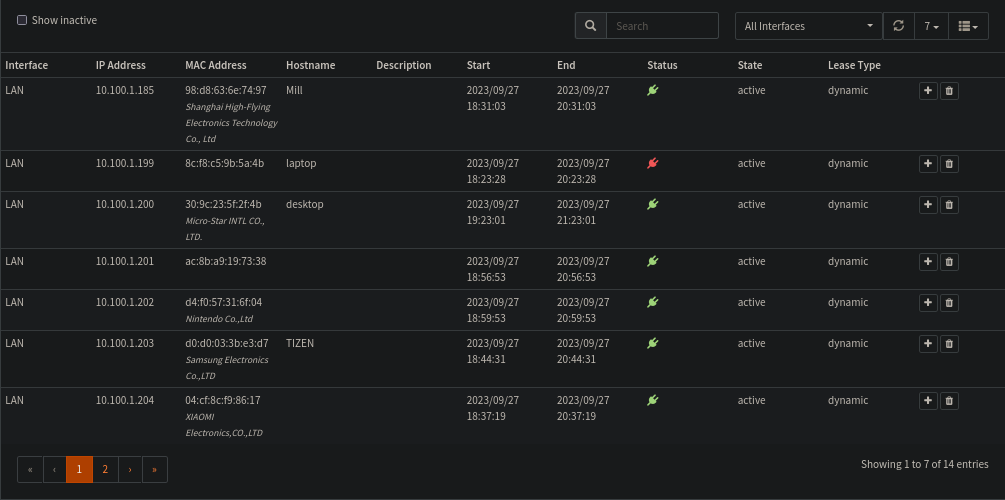
From here, see the tiny plus button on each line? Press it!
All it does is populate the hostname and MAC address fields, but its easier than copy pasting i guess :)
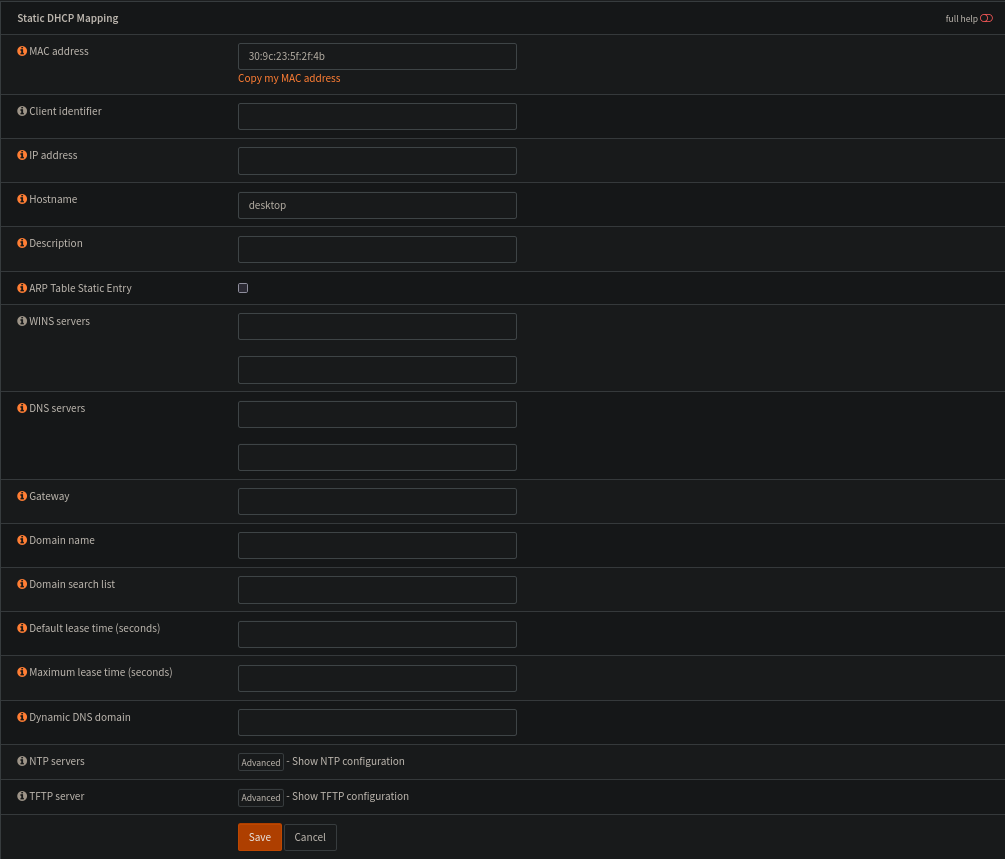
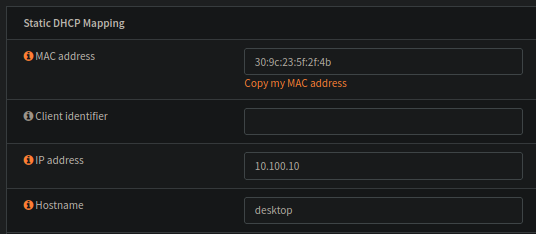
End result is simply setup like this:
Setting up these search rules and the static IPs will not really do anything if i dont have anything in my DNS!
Which brings us over to:
Setting up the DNS
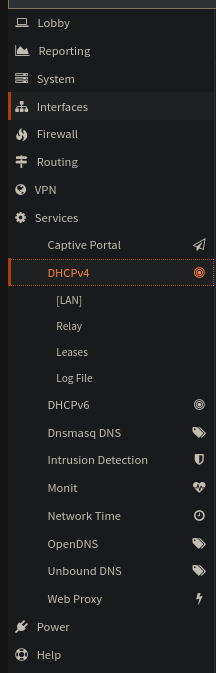
See, here i was a bit confused. In the OPNsense services list there are three DNS "things"
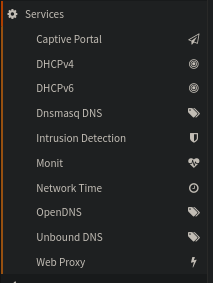
Needed to figure out which is what, and for my use right now.
In short:
OpenDNS
https://docs.opnsense.org/manual/opendns.html
OpenDNS is a company and service that extends the Domain Name System (DNS) by adding features such as phishing protection and optional content filtering in addition to DNS lookup, if its DNS servers are used.
Unbound DNS
https://docs.opnsense.org/manual/unbound.html
Unbound is a validating, recursive, caching DNS resolver. It is designed to be fast and lean and incorporates modern features based on open standards.

Since OPNsense 17.7 it has been our standard DNS service, which on a new install is enabled by default.
Dnsmasq DNS
https://docs.opnsense.org/manual/dnsmasq.html
Dnsmasq is a lightweight, easy to configure, DNS forwarder, which can be used to answer to dns queries from your network.

Similar functionality is also provided by “Unbound DNS”, our standard enabled forward/resolver service.

In some cases people prefer to use dnsmasq or combine it with our default enabled resolver (Unbound).
For me it makes sense to go with Unbound, as its the new standard for OPNSense, and i always want to learn something new.
First things first, register the DHCP names in the DNS

With this setting and the dns search we can verify by looking up desktop on the local network:
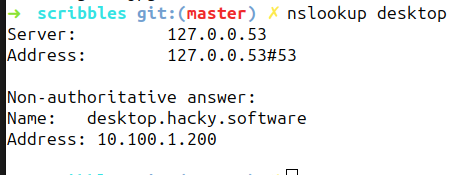
As you can see, the complete name desktop.hacky.software was resolved¸ and a DHCP range IP address was returned
The settings i know i want to add out of the box are as follows:
- sonarr.hacky.software alias sonarr.srv.hacky.software
- prowlarr.hacky.software alias prowlarr.srv.hacky.software
- radarr.hacky.software alias radarr.srv.hacky.software
- jellyfin.hacky.software alias jellyfin.srv.hacky.software
- jellyseer.hacky.software alias jellyseer.srv.hacky.software
From what i can i see in Unbound, this is not possible in the UI?
I have to point the Host and Domain overrides toward a IP, and not a domain name. Which makes sense, but i want to use an alias or cname, not a A record. It seems that i need to go the route of adding BIND too. As Unbound and Dnsmasq are DNS resolvers and i'm asking for the job of a DNS server
To install BIND:
https://docs.opnsense.org/manual/how-tos/bind.html#installation
First of all, go to System ‣ Firmware ‣ Plugins and install os-bind. You will finde the plugin at Services ‣ BIND.
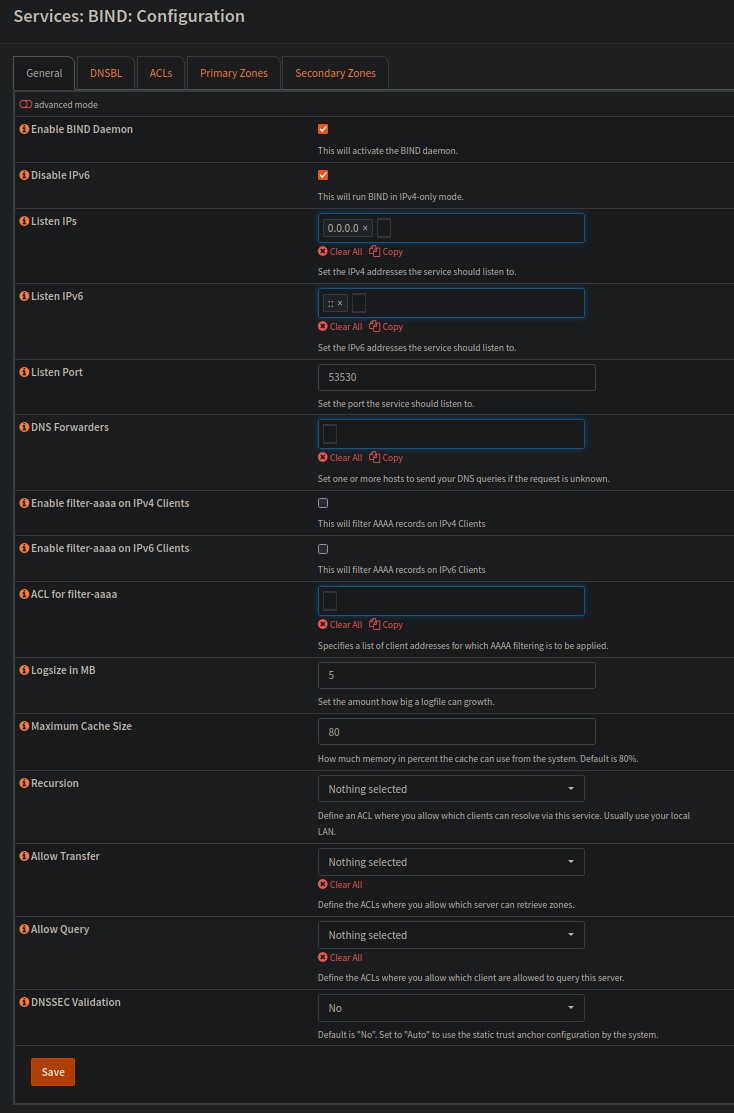
Setup here, like with most of OPNsense is suprisingly straight forward. Check the two top boxes and saved.
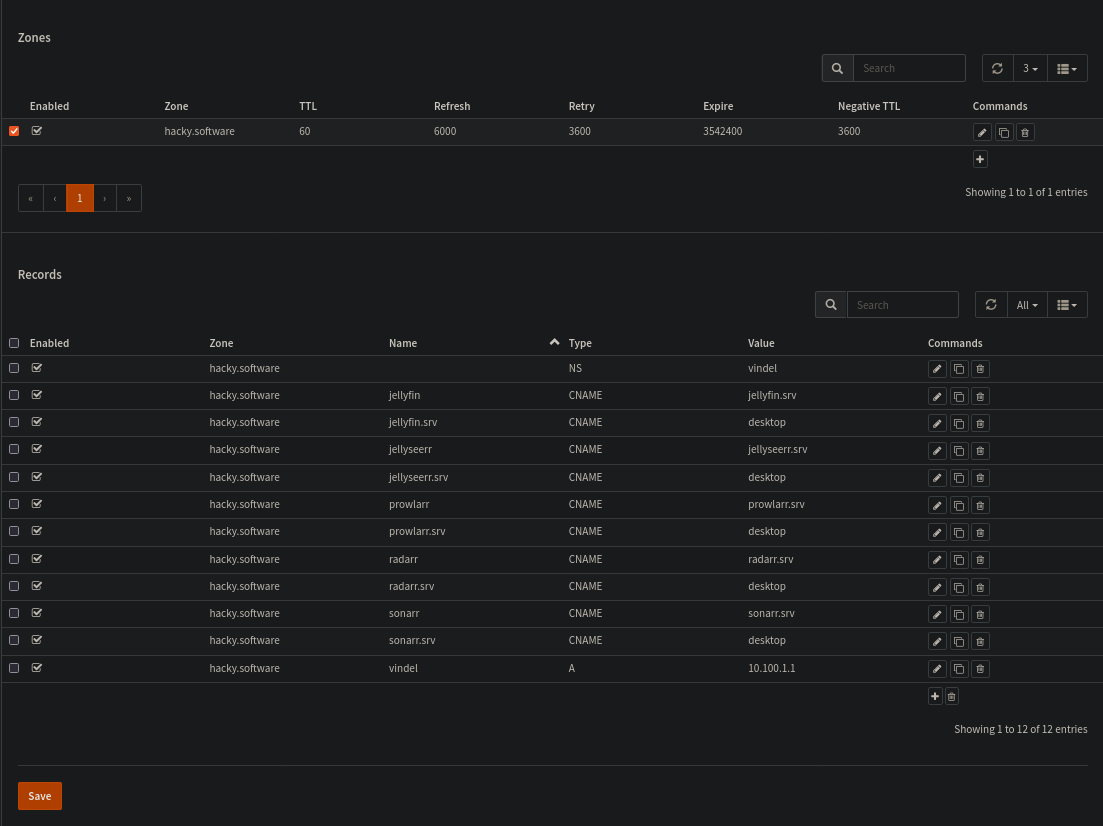
As for setting up my dns. I need to start by defining a zone, which for me is hacky.software. All round just default settings.
Inside Said zone i've used CNAMEs to setup the resolution i want, wherein i use a lot of CNAMEs and a wildcard to make everything work as intended.
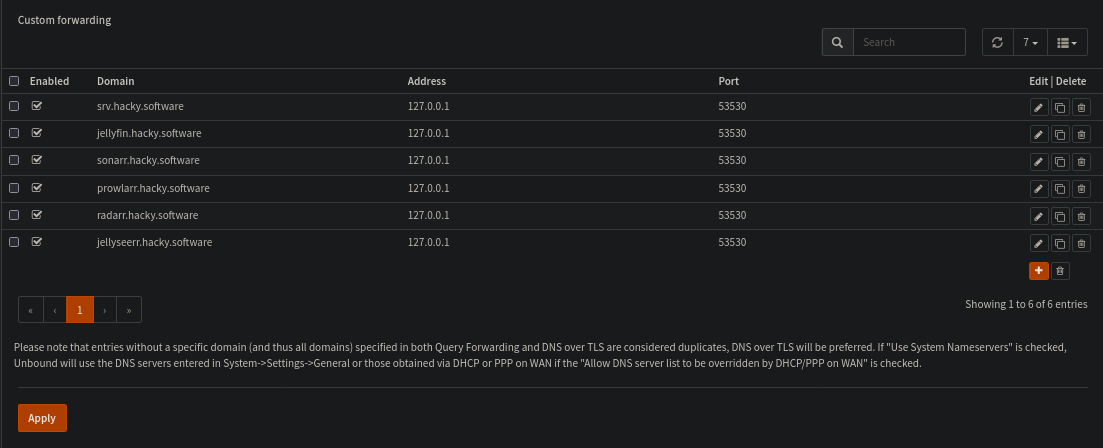
The last thing i need to do is to hint to unbound that certain domains/subdomains is avaliable on BIND and not in unbound.
To do this we setup the Query Forwarding System in unbound:
Opening the first port
There is still one thing missing in my base setup.
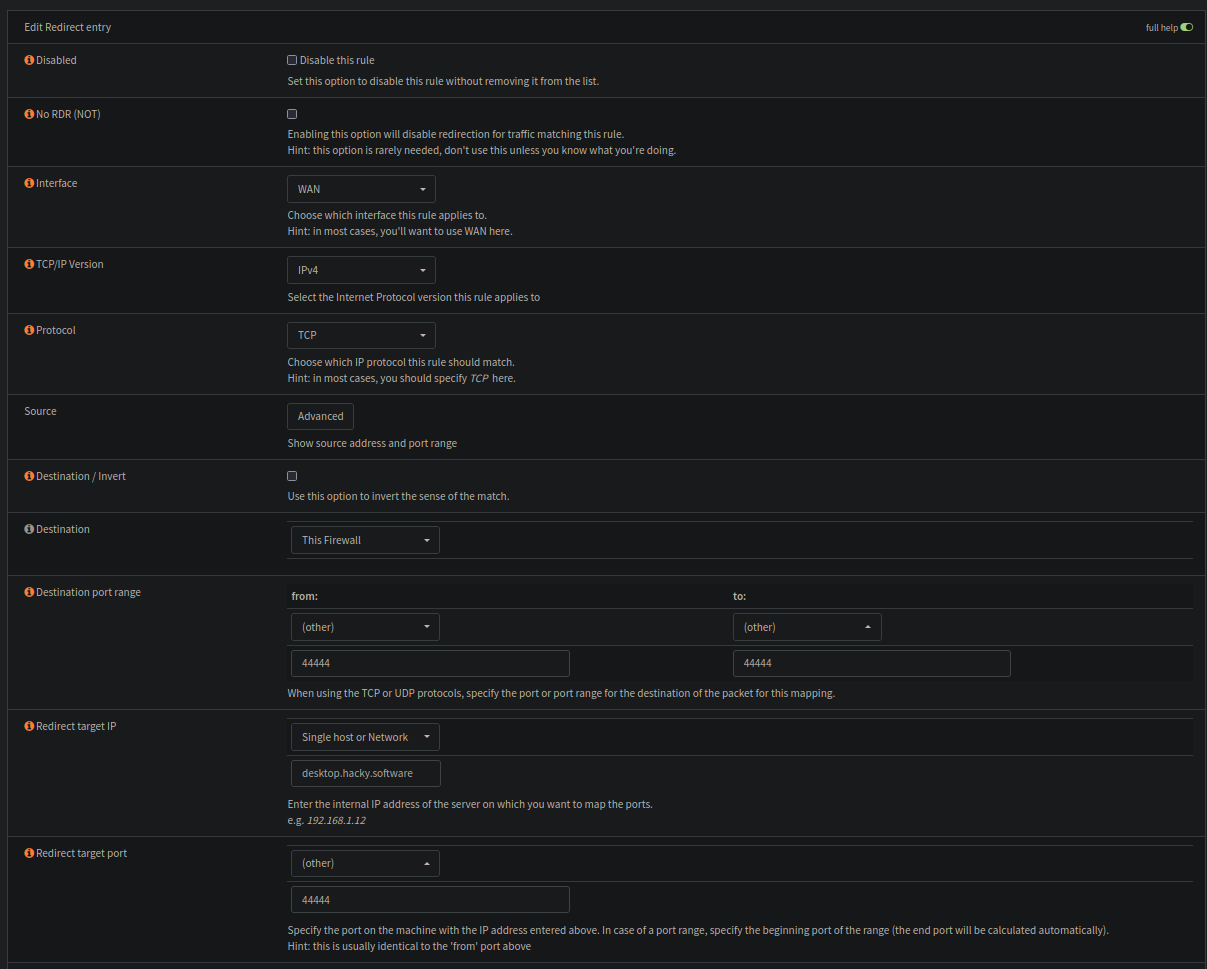
I have a service that runs on desktop.hacky.software, port 44444.
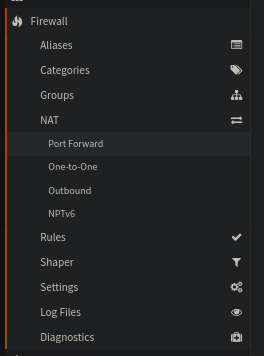
This service needs to be avaliable over the WAN interface. The easiest way to set this up is via the NAT Port Forward settings
When i save, this should hopefully also make a matching Firewall rule that allows the nat forwarding.
This does not work as i want

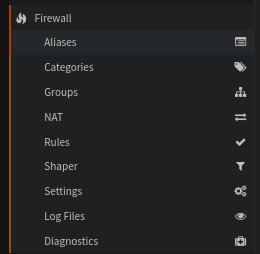
What i need to do is a bit wierder. I need to make an alias first
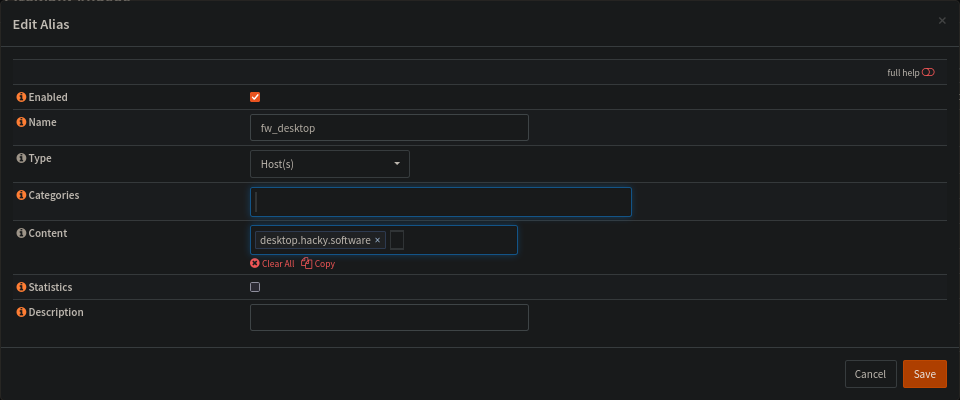
(This did not work as intended, read further)
And that alias may be used as a the redirection target for some reason..

And now we can see something like this:

And as excpected, its also visible over in the Firewall settings for the WAN

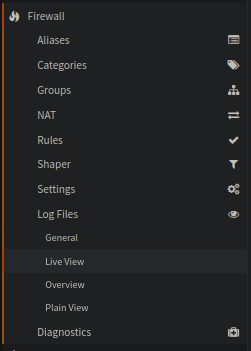
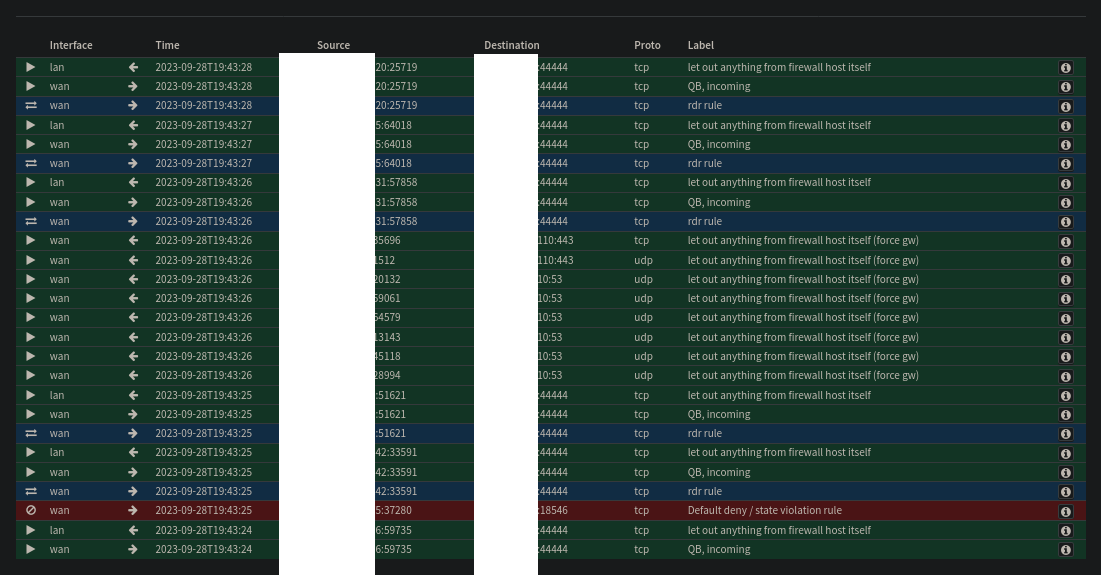
Lets check the logs :)
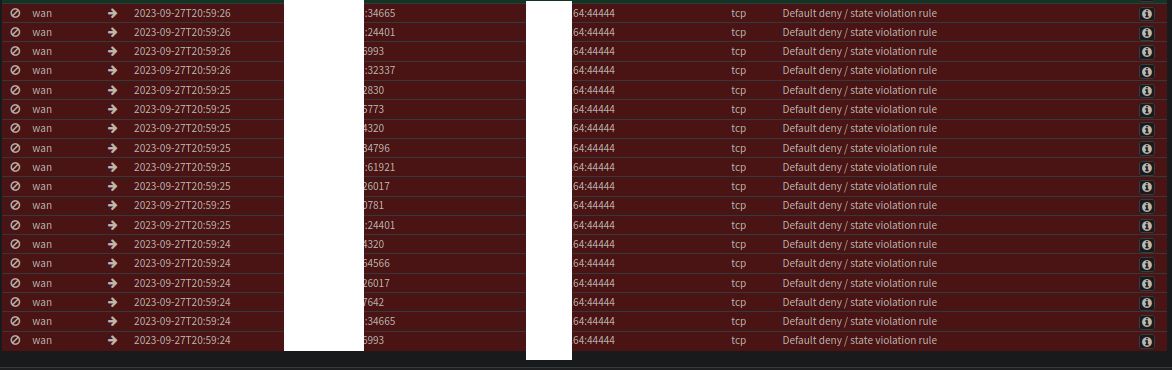
Dang it! Something is still wrong! After checking out the firewall rules a bit more i noticed a hidden dropdown in plain sight with 25 extra rules!
There is a default deny there, but the gray lightning means its supposed to trigger last. So that is not it..
After some more research i found the the alias settings acutally require you to set an IP address.
So its updated to to 10.100.1.10
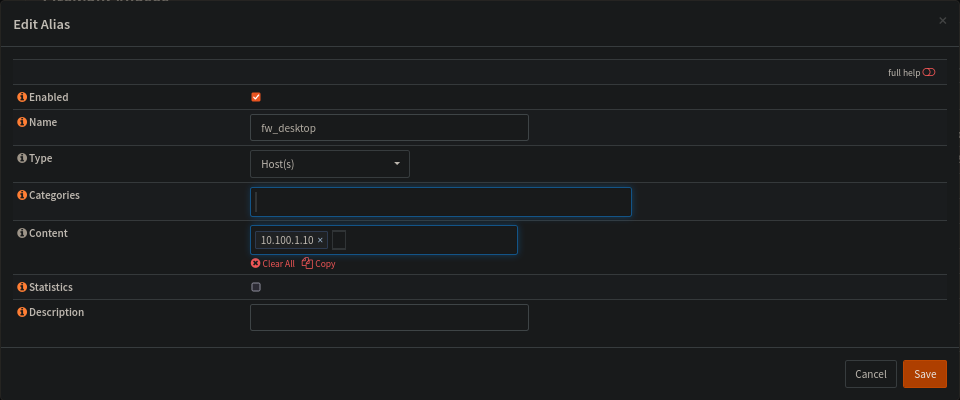
With these changes the live view looks way better!
But wait there is more! For some reason the client is still not happy, so i checked Wireshark
tcp.port == 44444
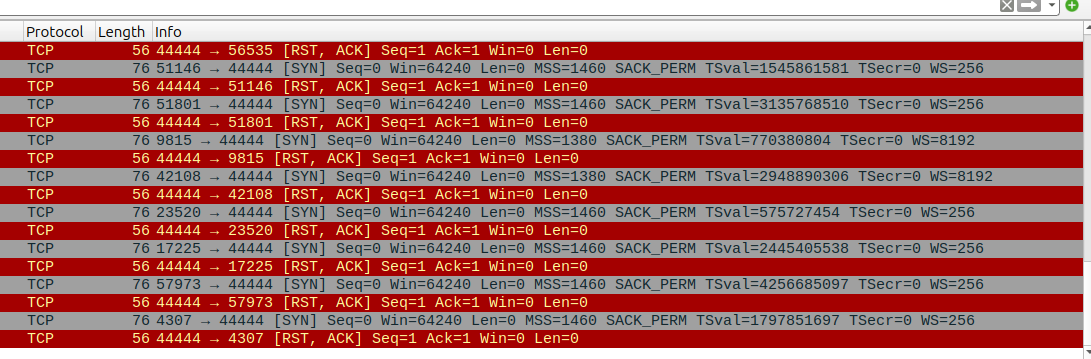
Something is still wierdly wrong here..
(30 minutes later)
Found the issue! Before i broke my network desktop had the ip 10.100.1.11, i've allocated 10.100.1.10 now. This application was configured to bind to a certain interface and on a certain IP, so that i could use things like VPN interaces from the same host without pushing all the data trough the tunnel.
Now with the new settings we are good to go again <3

The other parts:
- Part 0, the intro: Part 0 - Uh oh. Spagettio
- Part 1, the planning: Part 1 - Planning out my new network
- Part 2, Dynamic DNS: Part 2 - Informing Namecheap about OPNsens IP
- Part 3, WireGuard VPN Part 3 - Setting up Wireguard on OPNsense